
Picking Up the Brush: A Beginner's Guide to Painting Halo Flashpoint
Anthony Salazar
If you are someone who just picked up Flashpoint, or is thinking about it, and the idea of painting your models has you a little nervous, this one is for you. This is for the person who has never touched a miniature before, thinks painting looks intimidating, and needs someone to tell them straight that it really is not that bad.
I was that person. Flashpoint is actually the first tabletop game I ever played, and before I put brush to model for the first time, I was genuinely worried about messing it up. So let's just get into it.
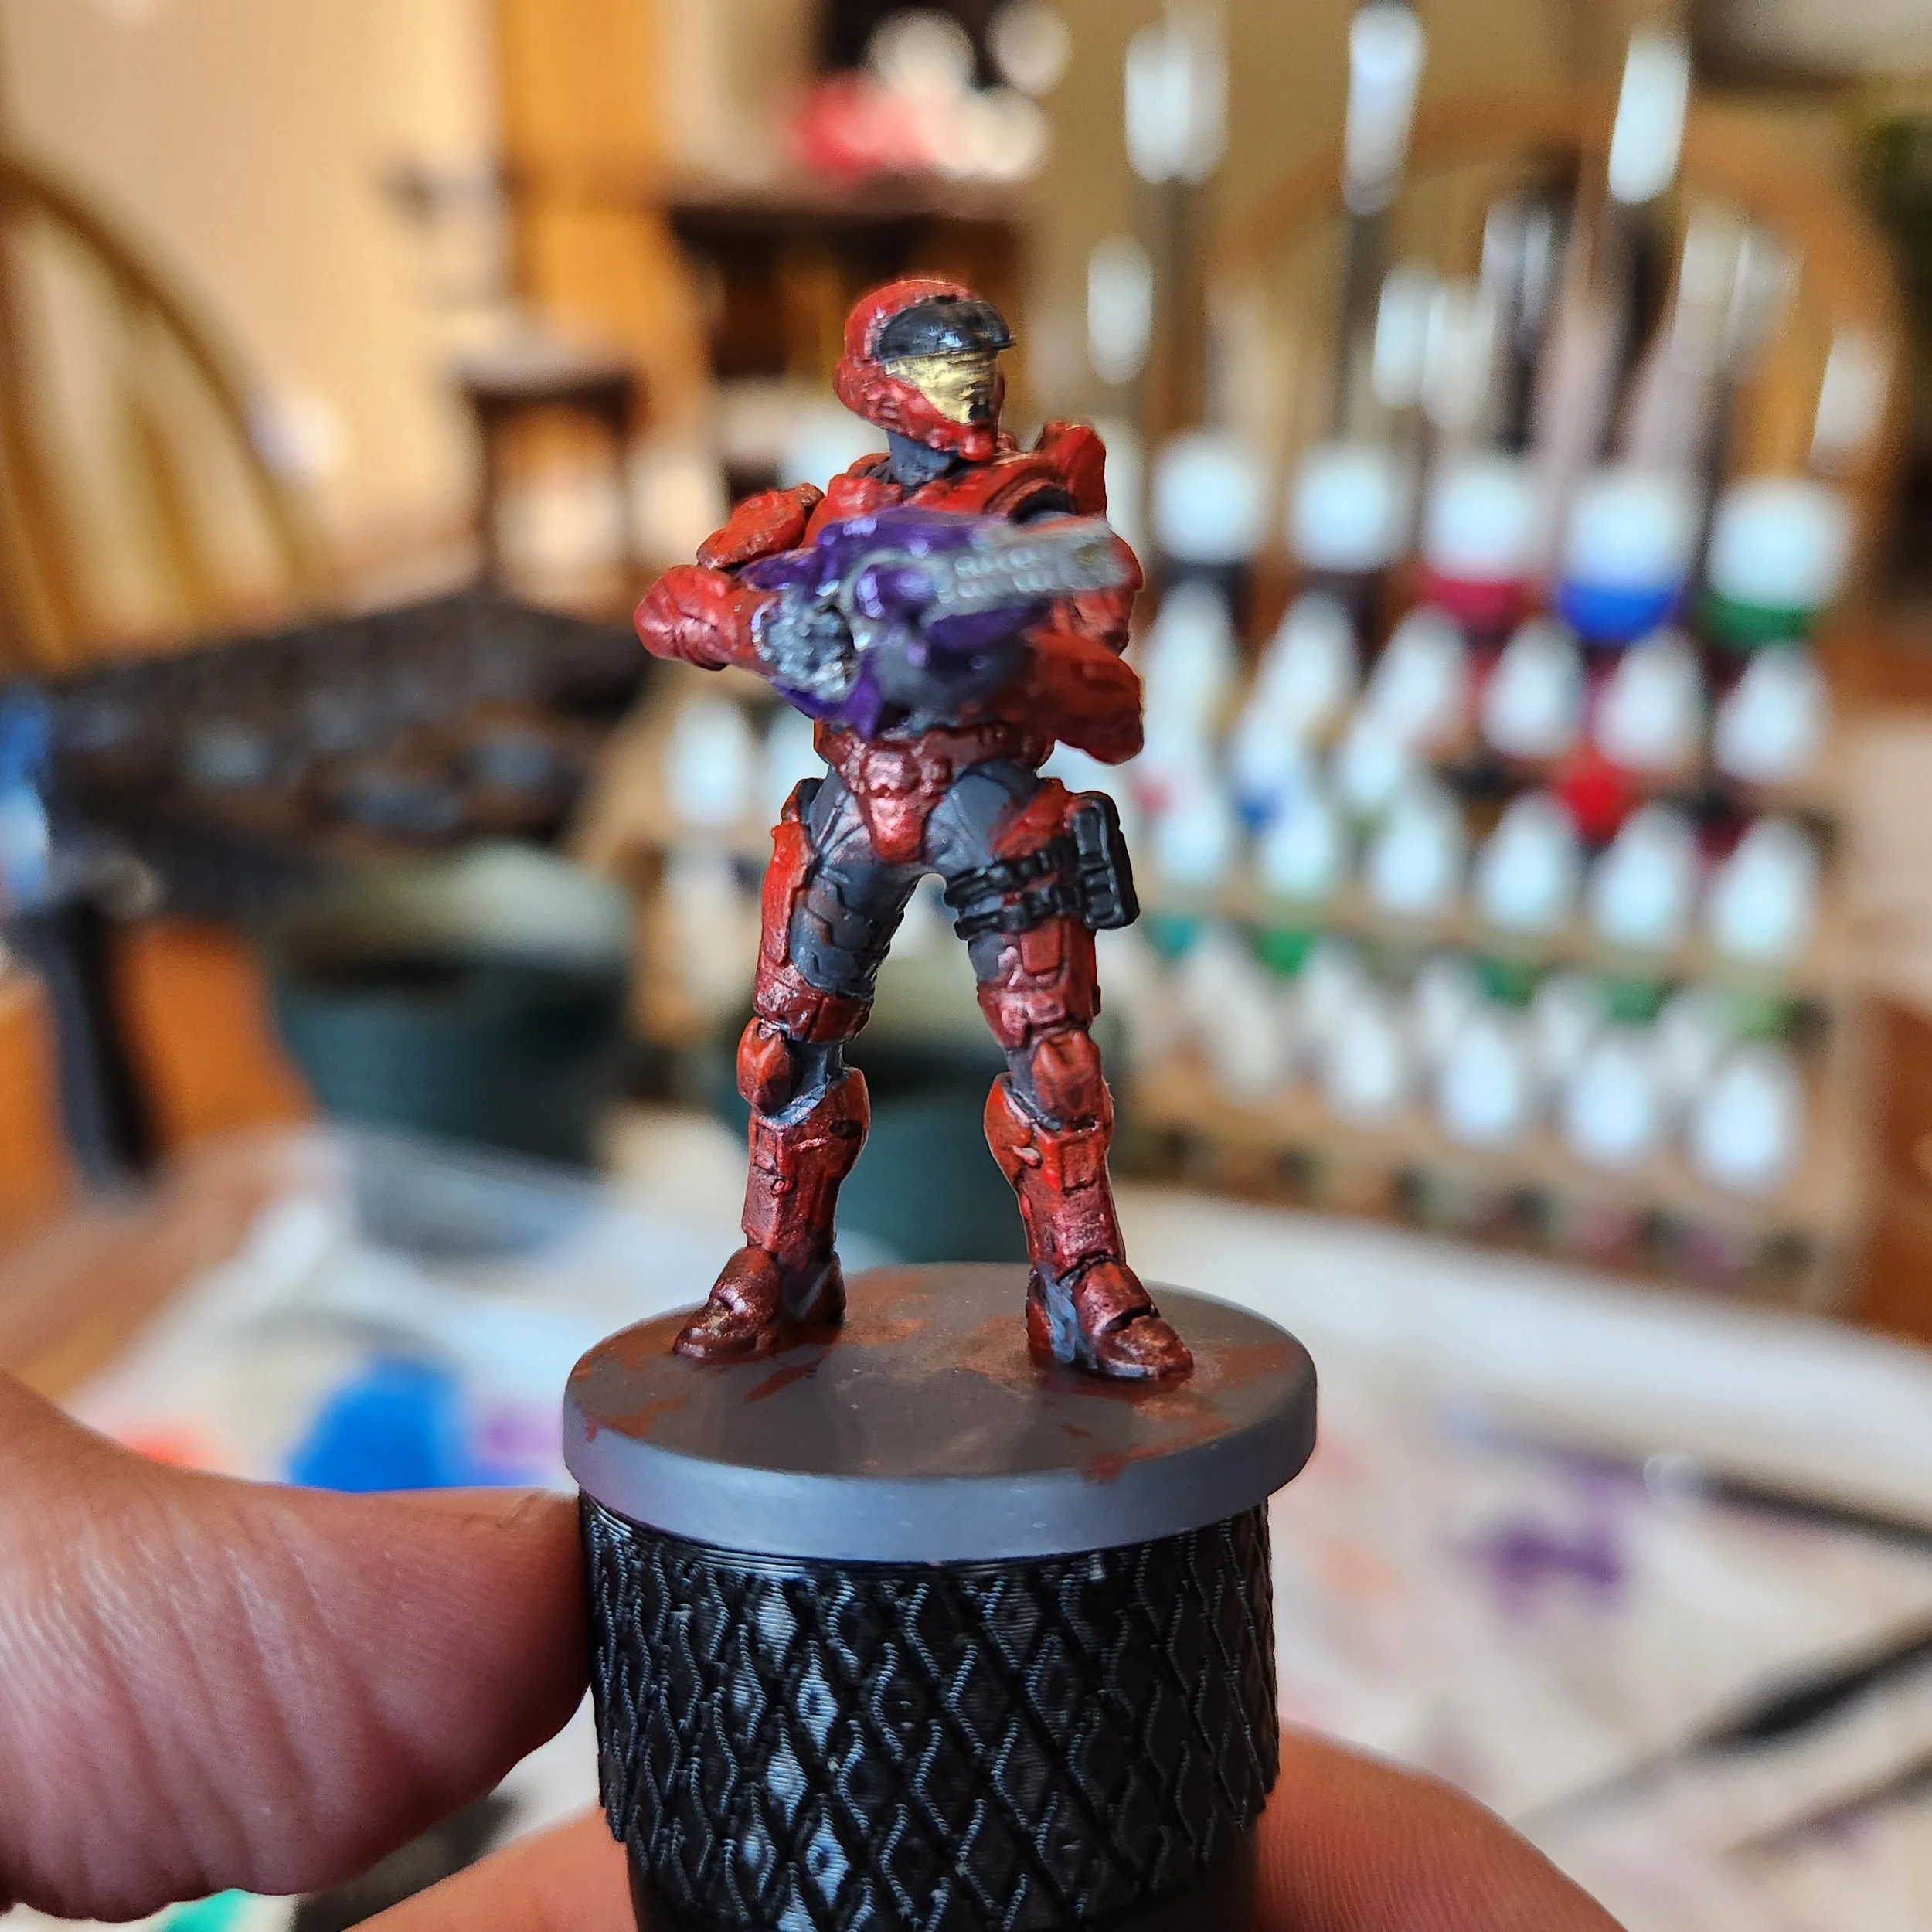
One Of My First Flashpoint Models
Why You're Probably Scared, and Why You Shouldn't Be
You have probably seen it. Someone on YouTube shorts is painting a Warhammer Space Marine, there's some kind of cracked lava paste bubbling underneath glowing orange metal, insane brush control, color mixing that looks like it belongs in an art museum. It looks incredible.
And it looks terrifying.
But here is the thing nobody tells you. Those videos are the ceiling of the hobby, not the floor. Those painters have hundreds, sometimes thousands of models under their belt. Their work is specifically made for competitions where judges examine models at extremely close range, or for high end photography shoots where lighting and macro lenses do a lot of the heavy lifting. Those models are not painted to sit on a tabletop three feet away from you while someone rolls dice at them.
The three foot rule is one of the most important concepts in tabletop miniature painting, and it simply says this: if it looks good from three feet away, that is all that matters. Most painted models are going to live on a gaming table, viewed from a normal seated distance. At that range, what reads is color, contrast, and shape, not pinpoint details or perfect blends. Understanding this before you ever pick up a brush changes everything, because it means the bar you actually need to clear is way, way lower than what you see on social media.
It is the same thing as the Matthew Mercer effect in Dungeons and Dragons. People see him weave this incredible narrative masterpiece and think that is the standard they have to hit to run a game. It isn't. And the same goes here.
Why Flashpoint Specifically Is Great for Beginners
Not all miniatures are created equal when it comes to painting, and Flashpoint genuinely has some of the best models in the hobby for someone just starting out.
Flashpoint miniatures are cast at 32mm scale, which means they are a solid, comfortable size to work with. Standard D&D miniatures sit at around 28mm scale, roughly the width of your thumbnail from base to eye level. That four millimeter difference sounds small but it actually gives you meaningfully more surface area to paint, which means more room for your brush to do its job without feeling like you are trying to paint on a grain of rice.
Beyond the scale, the sculpts themselves are genuinely excellent. Spartan armor has large, clean panels that are perfect for laying down your first coat of color. The surface details, the visor, the shoulder pads, the armor seams, are all deep and well defined, which means the shading techniques we will cover shortly do a lot of the heavy lifting for you almost automatically. The Elites and Brutes have great texture variety too, mixing cloth, armor, and organic surfaces that give you a chance to practice different techniques without feeling repetitive.
Honestly, for a first time painter, Spartan armor is about as good a starting canvas as you will find anywhere in the hobby.
Before You Touch a Model: Practice on D&D Minis
Here is what I actually recommend as your first step before you even open a Flashpoint box.
Pick up a cheap two pack of D&D miniatures. You can find them for around five dollars at most game stores or online. Because the price is so low, if you make a mistake it genuinely does not matter. And you will make mistakes. Everybody does, that is how you learn. Most D&D miniatures also come pre-primed straight out of the package, meaning there is already a preparatory coating applied to the plastic and they are ready to paint immediately, no prep work required on your end. We will cover what primer is and why it matters in the next section, but for now just know that with D&D minis you can skip that step entirely and go straight to painting. That makes them an even better first practice canvas.
The D&D minis being slightly smaller than your Flashpoint models also means that once you move over to Spartans, you will immediately notice how much more manageable the larger surface area feels. Think of those first couple D&D minis as your training ground. By the time you sit down with your first Spartan, you will already have a feel for what it is like to load a brush, drag paint across a surface, and figure out what consistency actually works.

My First Elite
Step One: Primer
Before any paint goes on your Flashpoint model, it needs to be primed. Primer is a spray coating that gives your plastic a slightly textured surface for paint to grip onto. Painting directly onto bare plastic leads to dull colors, chipping, peeling, and results that just look wrong no matter how carefully you painted. A can of spray primer is not optional, it is one of those things where skipping it creates far more problems than it solves.
Primer comes in many colors, and the color you choose influences your final result because acrylic paint is partially transparent. Whatever sits underneath will affect what shows on top. Black primer darkens everything and is popular for models with lots of metal or shadow. Red or brown primer is a shortcut for earthy or warm toned paint jobs. White primer is the best starting point for beginners because the color you see on your brush is basically what you get on the model, slightly brighter if anything.
We specifically recommend Color Forge spray primer in white. Great price, great coverage, and very reliable. Hold the can about twelve inches from the model, apply a thin even coat, and let it dry fully before doing anything else. That is all there is to it.
Step Two: Brushes
You need two brushes to start. That is genuinely it.
A size 2 brush is your base coating brush, used for covering large flat surfaces like armor panels and big sections of cloth or skin. A size 1 or 0 is your detail brush, used for smaller areas, edges, and tidying things up. Anything smaller than a 0 is for very fine work like lenses, tiny markings, or line detail on armor, and you do not need to worry about those until you are well into the hobby.
One important note on brush sizes: they work a bit like clothing sizes. A size 2 from one brand might look noticeably different from a size 2 from another. The numbers give you a general idea of where a brush falls on the spectrum from large to small, but they are not standardized across manufacturers. When shopping, look at the actual bristle shape and length in the product photos rather than relying on the number alone.
For materials, there are two types of brush you will hear about. Synthetics are the most affordable and most common, and they are perfectly capable for everything a beginner needs. Kolinsky sable brushes are the premium option, made from the tail hair of the Siberian weasel. They hold paint exceptionally well, maintain a consistently sharp point, and with proper care can last for years. They are however significantly more expensive, sometimes thirty dollars or more for a single brush. You genuinely do not need them until you are several hundred models into the hobby. A good synthetic multipack off Amazon is all you need to start.
One critical habit to build from day one: never let paint travel more than halfway up the bristles of your brush. The ferrule is the metal collar where the bristles meet the handle, and if paint dries in there it permanently splays the bristles outward and ruins the brush. A small dot of paint on the tip is all you need at any given time.
Step Three: Paint
Now we get to the fun part. The medium we use for miniature painting is acrylic. Acrylic paints are water based, durable, and apply well at the right consistency. There are a few different types worth knowing about before you buy anything.
Standard acrylics are your workhorse paints. Base colors, armor colors, skin tones, cloth, all of that gets handled with standard acrylics. They come in hundreds of colors and are what the majority of your painting will use.
Metallic paints work the same way as standard acrylics but contain fine reflective particles that cause the paint to actually shine and catch light, perfect for visors, weapons, and any metal surfaces. For Flashpoint specifically, a gold metallic is essential for Spartan visors, and a mid tone silver like Gun Metal is a great second pick for weapons and scratches on armor.
Washes are a very thin, almost ink like paint specifically designed to flow into the recesses, crevices, and detail lines of a model by themselves. When you brush a wash over a painted surface it naturally pools in the lower areas and tight corners, darkening and defining all those details without you having to do much at all. It also acts as a subtle tint over the surface it covers, so colors will deepen slightly, which adds a natural worn look and a sense of depth. Washes are one of the most powerful tools a beginner has because they do an enormous amount of work with very little skill required.
Speed Paints and Contrast Paints are a special category that work a bit like a wash but with stronger, more opaque color. You brush them over a white primed model and they automatically shade themselves, darker pigments flow into recesses while lighter pigments stay on raised surfaces, giving you a shaded finished look in a single coat. They are genuinely great for beginners who want fast results, but learning standard brush techniques alongside them will take your painting much further in the long run.
Effect paints are specialty products with unique properties, things like paints that glow under UV light, granular texture pastes that mimic rust and weathering, crackle effects, and so on. These are fun to experiment with later on but not something you need to think about right now.
To start, all you need are standard acrylics, a metallic or two, and a wash. Get those three categories sorted and you are ready to paint.
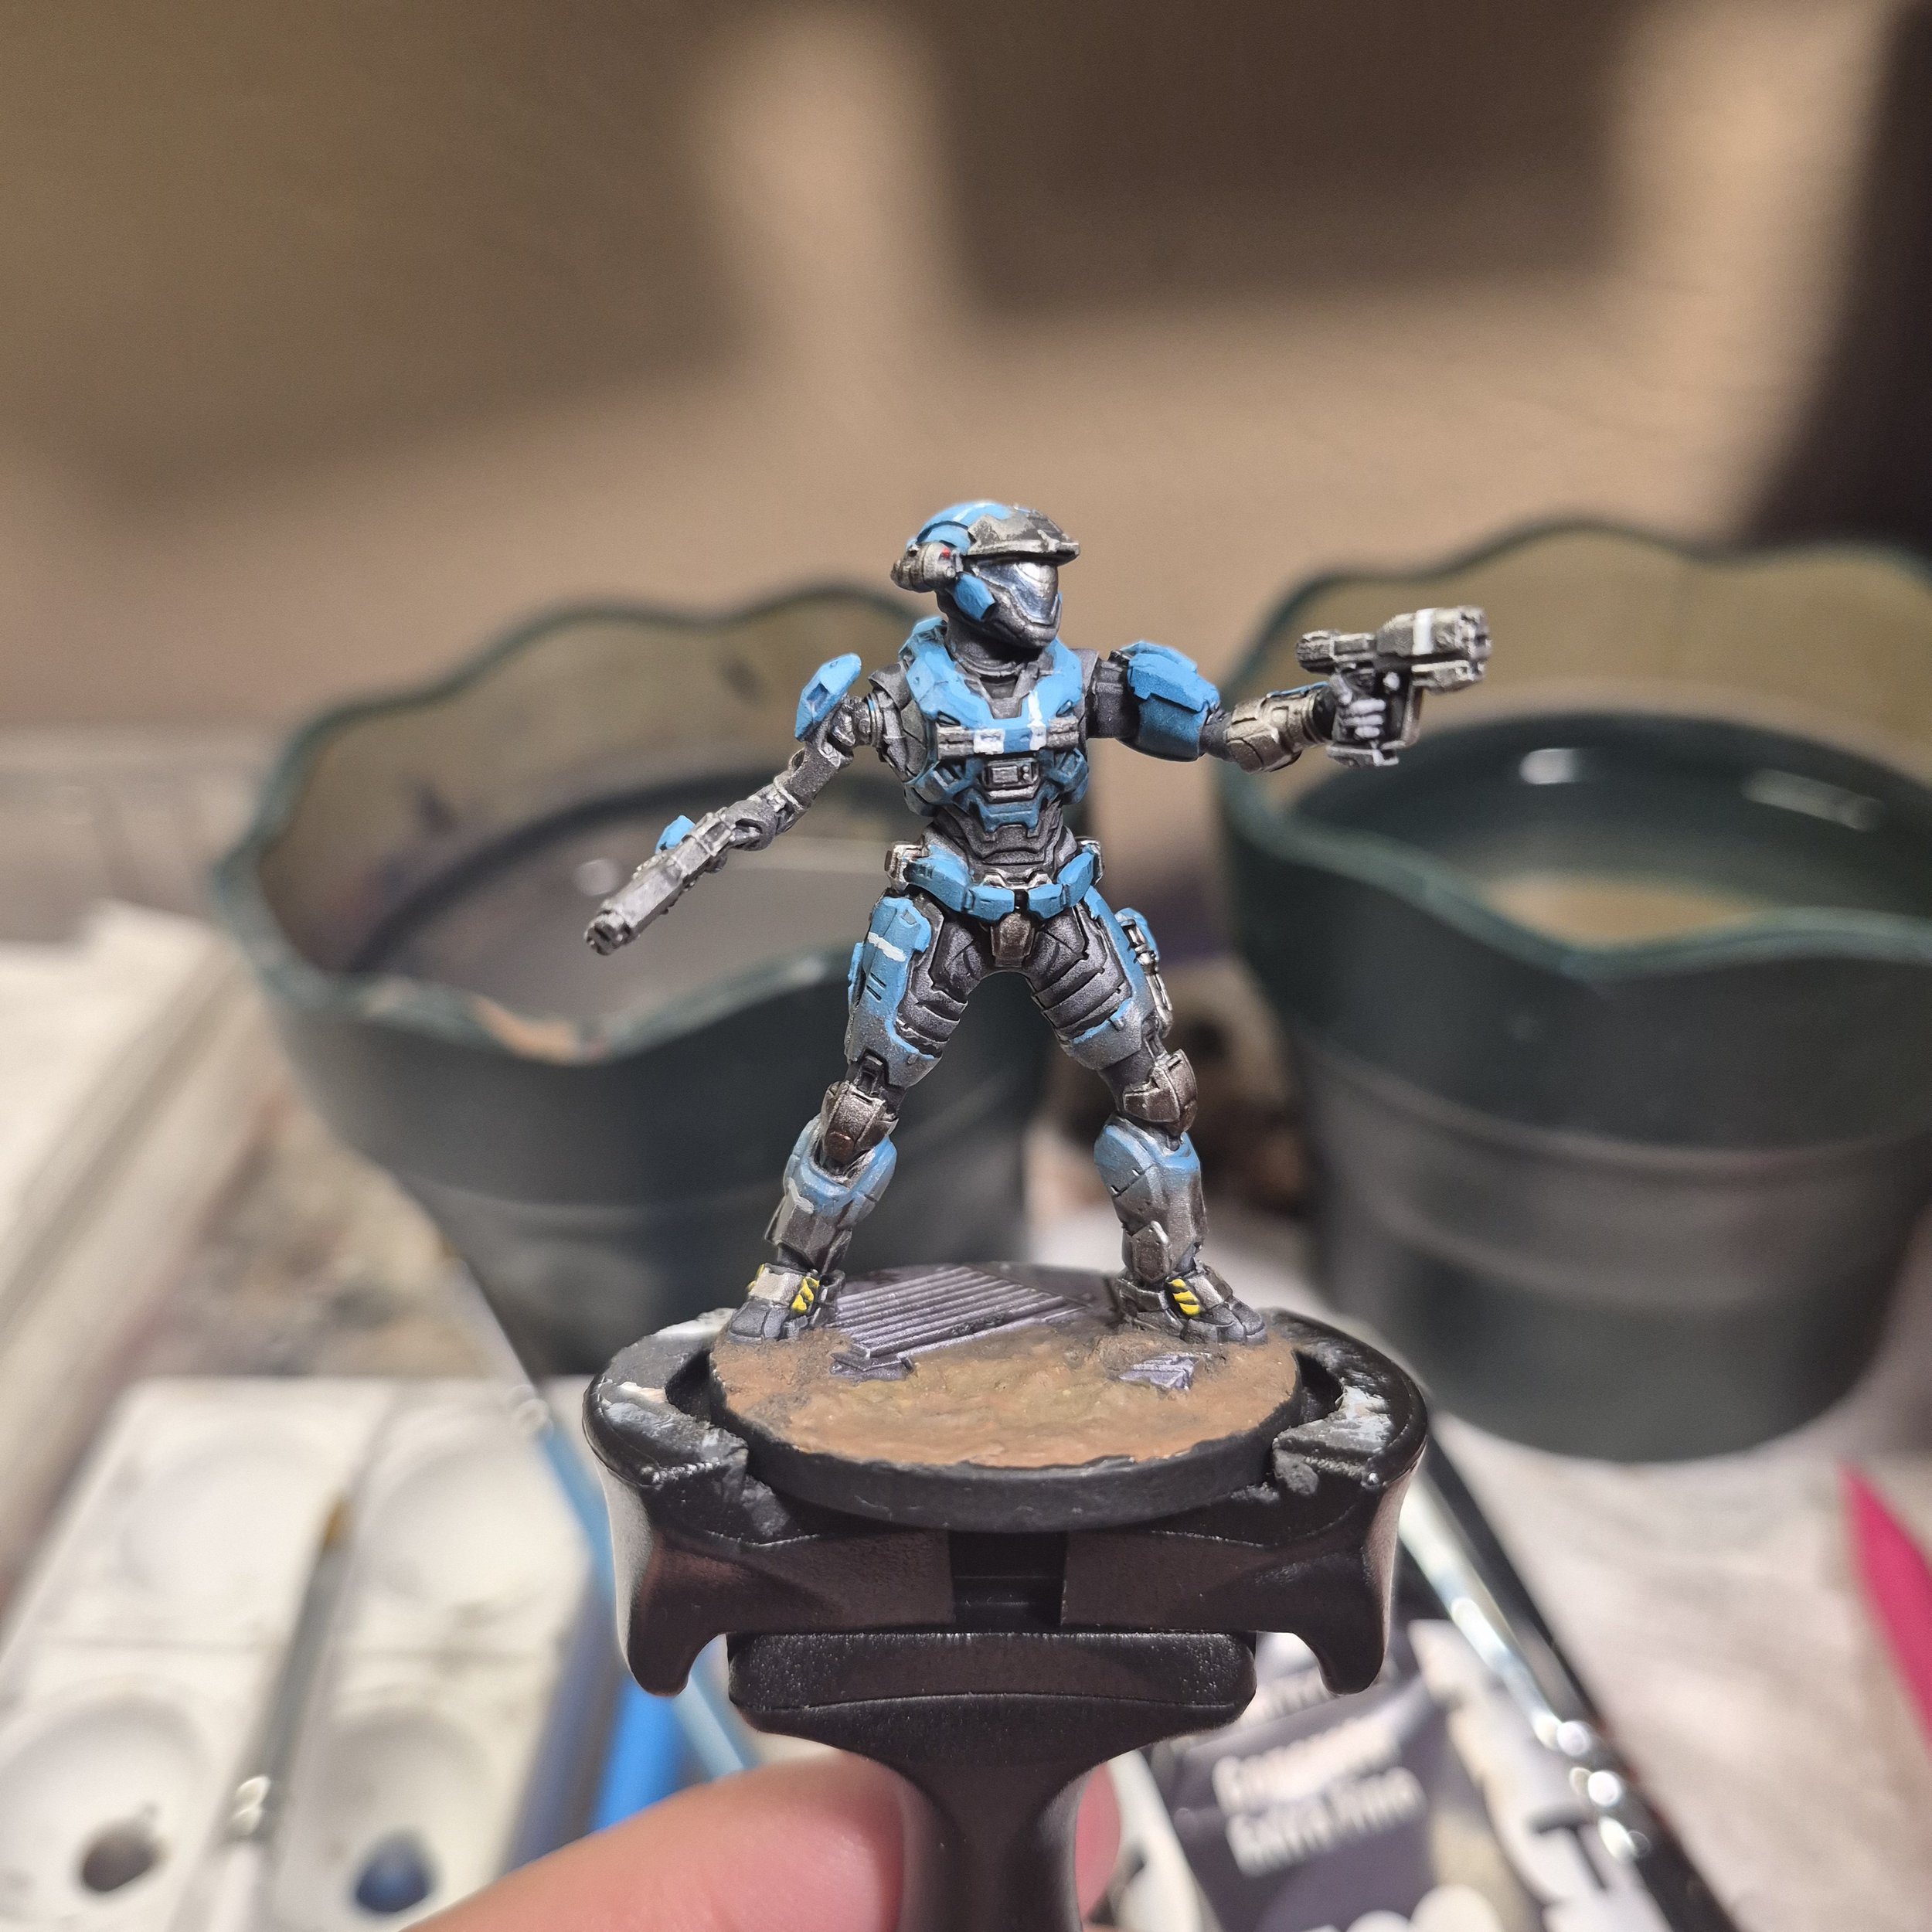
One of my latest models after a year of painting
Which Paints to Buy
You have two solid options.
Option one is a cheap craft acrylic set off Amazon, usually around $24 for a large box of colors. These work, and they are a perfectly valid way to try painting without much investment. The tradeoff is consistency. Because we are working at small scale, paint that is too thick collects in lumps over your model and hides details. Craft paints are thicker than hobby specific paints and need to be thinned with water every single time you load your brush. When starting out this is manageable, but after an hour of painting, switching colors constantly and thinning every load, sometimes getting it right and sometimes not, it gets frustrating fast.
Option two is dedicated hobby paints. These are specifically formulated to flow correctly right from the bottle, most of the time you can take them directly to the model without thinning needed. They are also color matched within their ranges so shades and highlights work together predictably rather than by guesswork. At around $5 to $6 a bottle they seem expensive compared to a bulk craft set, but in miniature painting you only ever use a small dot of paint on your palette at a time. A bottle lasts a very long time.
Some of the biggest and most respected hobby paint brands worth researching are The Army Painter, Citadel by Games Workshop, Vallejo, and Scale75. Each has their own strengths and passionate communities around them. We advocate for Army Painter specifically here because of their consistent quality and because of their triad system.
The triad system organizes each color family into a range of seven shades from darkest to lightest, and each bottle shows you where it sits within that spectrum. The idea is that all you need are three paints from any color family, a dark tone, a mid tone, and a light tone, and you have everything required for a complete paint job with shading and highlights built in. When picking your three, grab every other shade. That way if you want a tone between two colors you own, you can simply mix them and get it without buying an additional bottle. It is an intuitive system that takes a lot of the guesswork out of color selection for beginners.
What we genuinely recommend as your starting purchase is the official Halo Flashpoint Paint Set by The Army Painter, retailing around $60.00. It comes with eight Army Painter Warpaint Fanatic paints in colors specifically chosen for Flashpoint models: UNSC Armor Green, UNSC Visor Gold, UNSC Techsuit Grey, Red Team Red, Blue Team Blue, Banished Black, Forerunner White, and The Flood. It also includes an Army Painter brush and a Master Chief miniature with his game card, so you get a model to paint and a new unit for your collection at the same time. As a starting kit it is hard to beat. And just to be clear, we are not sponsored or affiliated with Army Painter or Mantic in any capacity. We just really like these paints.
Alongside the paint set, pick up Army Painter's Dark Tone wash and their Greedy Gold metallic to round out your starting kit. That covers everything you need for the base game models.
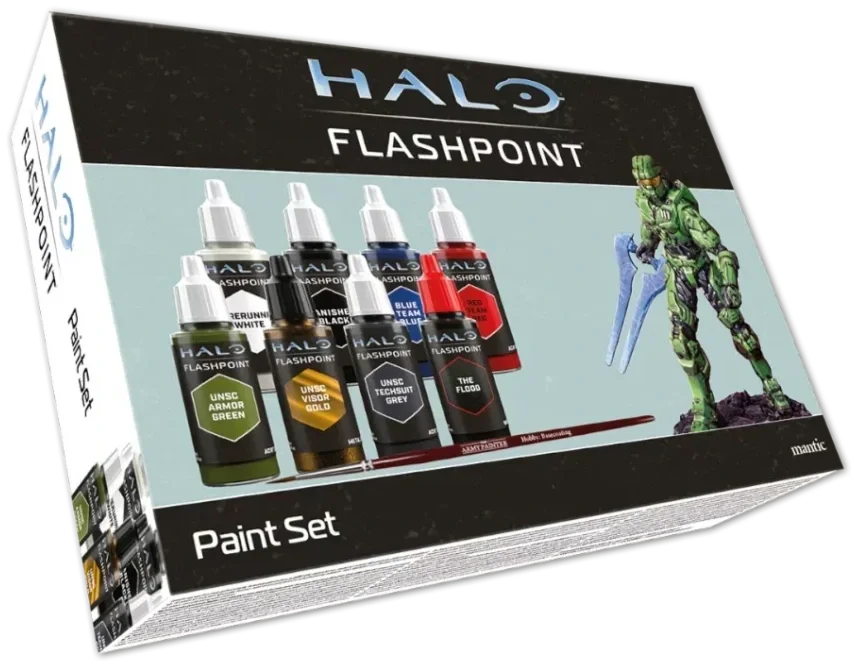
The Official Halo Flashpoint Paint Set, By Mantic Games & The Army Painter
Putting It All Together: How to Paint a Model
Okay. Primer is on, brushes are ready, paints are open. Here is the basic process from start to finish.
Base coat. Using your size 2 brush, apply your chosen color to each section of the model. Armor gets armor color, weapons get weapon color, and so on. Do not worry about being perfect on the first pass, two thin coats always cover better than one thick one. Let each coat dry before applying the next.
Wash. Once your base coat is fully dry, brush your Dark Tone wash over the model. It will look murky and dark for a moment, that is normal. Let it dry completely and watch as it settles into every recess and automatically defines all the surface details.
Highlight. Once the wash is dry, take your original base color and lightly brush it back over the raised surfaces of the model, the tops of armor panels, edges, and raised detail lines. This brings those areas back to their original brightness after the wash darkened everything, and creates a natural sense of depth between the shadowed recesses and the highlighted surfaces.
That three step process, base coat, wash, highlight, is the foundation of tabletop miniature painting. Everything else in the hobby is a refinement of that core loop.
A Note on Dry Brushing
Dry brushing is a technique used to pick out raised textures and edges quickly, and it is especially useful for things like armor scratches, rocky bases, and terrain. A dry brush is a wide stiff bristled brush, sometimes sold specifically labeled as such, with a flat or fan shaped head rather than a pointed tip.
To dry brush correctly: lightly wet the brush first, then wipe it dry on the palm of your hand until it is just barely damp. Dip the brush into your paint, then brush most of it off on a textured surface like a hobby palette or a piece of cardboard until almost nothing remains on the bristles. From there, use short light flicking strokes across your model and the tiny remaining amount of paint will transfer only to the highest raised points, creating a fast natural highlight across textured surfaces. You can use a paper towel to remove excess paint if needed, but paper towels tend to pull more moisture off the brush than you want, so a palette or cardboard is the better first choice.
You Will Not Know Until You Try
That is really the whole thing. Get your supplies, grab some D&D minis to warm up on, prime your Flashpoint models, and start painting. Your first model will not look perfect. Neither did mine. But every model after it will be better, and at some point you will finish something and genuinely feel proud of it.
If you want to see what the actual process looks like step by step for specific Flashpoint models, keep an eye out for our upcoming free painting guides covering the base set models. There are also tons of great beginner painting videos on YouTube that break down techniques, terminology, and methods in real time, and that is honestly where I started myself.
For everything Flashpoint, we’re your source.